目次
今回やりたいこと
LINE Notify APIでLINEメッセージを送る
全体の流れ
1.アクセストークンの発行
まずはアクセストークンを発行。
- LINE Notifyにアクセスし自身のLINEアカウントでログインする
- 右上のメニューからマイページにアクセスし、「トークンを発行する」へ進む
- 通知名と宛先(自分自身か特定のグループ)を選択してトークンを発行する。
2.簡単なメッセージを送ってみる
簡単なメッセージを送るだけなら数行で可能
以下のコードの例では「Test Notify」というメッセージが送られてくる
import requests

url = "https://notify-api.line.me/api/notify"

# トークンのセット
access_token = '発行したトークン'
headers = {'Authorization': 'Bearer ' + access_token}

# メッセージの設定
message = 'Test Notify'
payload = {'message': message}

# リクエストの送信
requests.post(url, headers=headers, data=payload)
3.最高気温と最低気温を通知してみる
せっかくだからもう少し使えそうなことをしてみる
今回は札幌市の気温をyahooから取得してきてそれを通知してみることにした
情報の取得はBeautifulSoupを用いたスクレイピング
from bs4 import BeautifulSoup
import requests


class weather:
    def __init__(self):
        self.url = 'https://weather.yahoo.co.jp/weather/jp/1b/1400.html'

    def get_temperature(self):
        html = requests.get(self.url)
        soup = BeautifulSoup(html.content, "html.parser")

        temperature = soup.find_all('li', class_=['high', 'low'], limit=2)
        temperature = [i.text for i in temperature]

        return ('\n最高気温[前日との差]:' + temperature[0] +
                '\n最低気温[前日との差]:' + temperature[1])
テストメッセージの代わりに気温情報を渡す。
# message = 'Test Notify'

weather = weather()
message = weather.get_temperature()
payload = {'message': message}
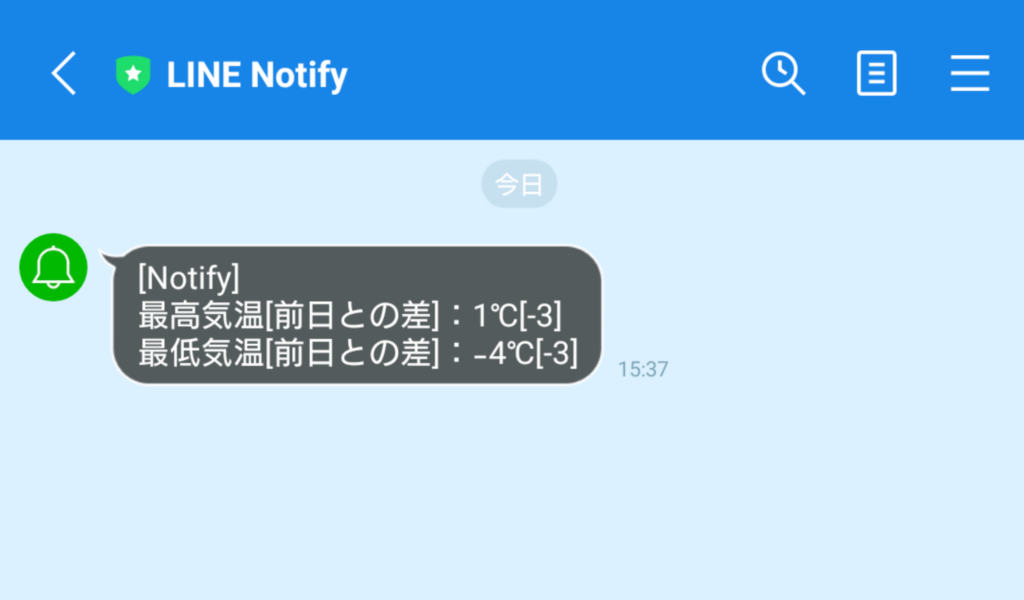
実際に来るLINE通知

まとめ
LINE Notify APIでライン通知を送ってみました。
今回作ったものをサーバーで動かせば、毎朝その日の気温を通知なんてことも簡単そう
